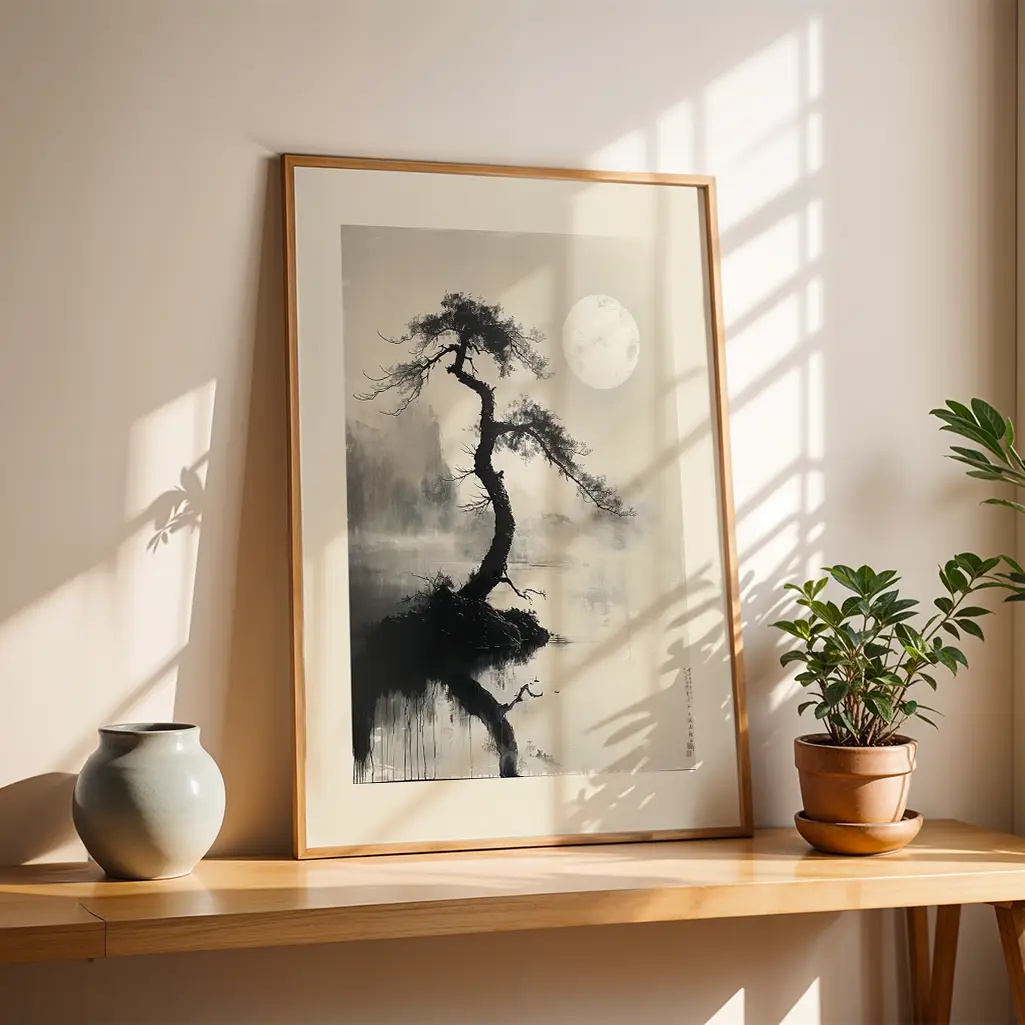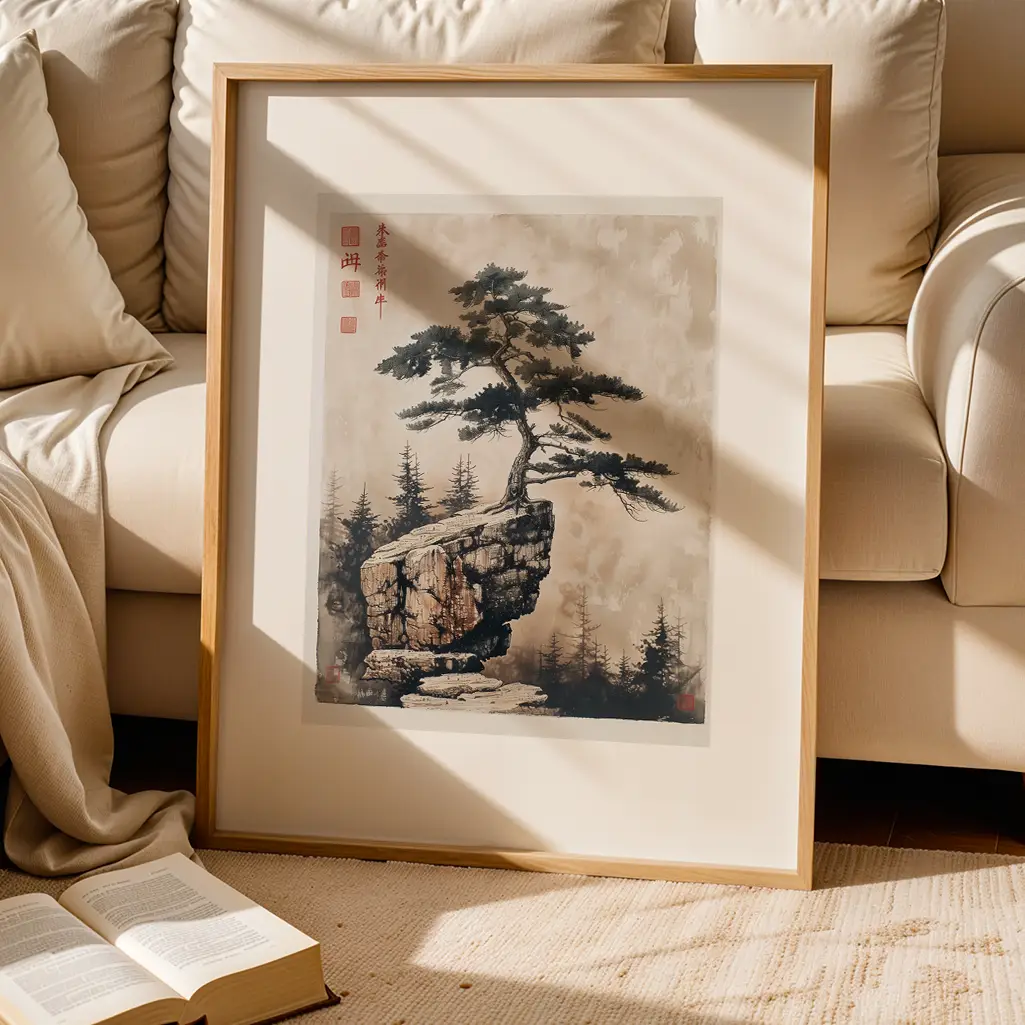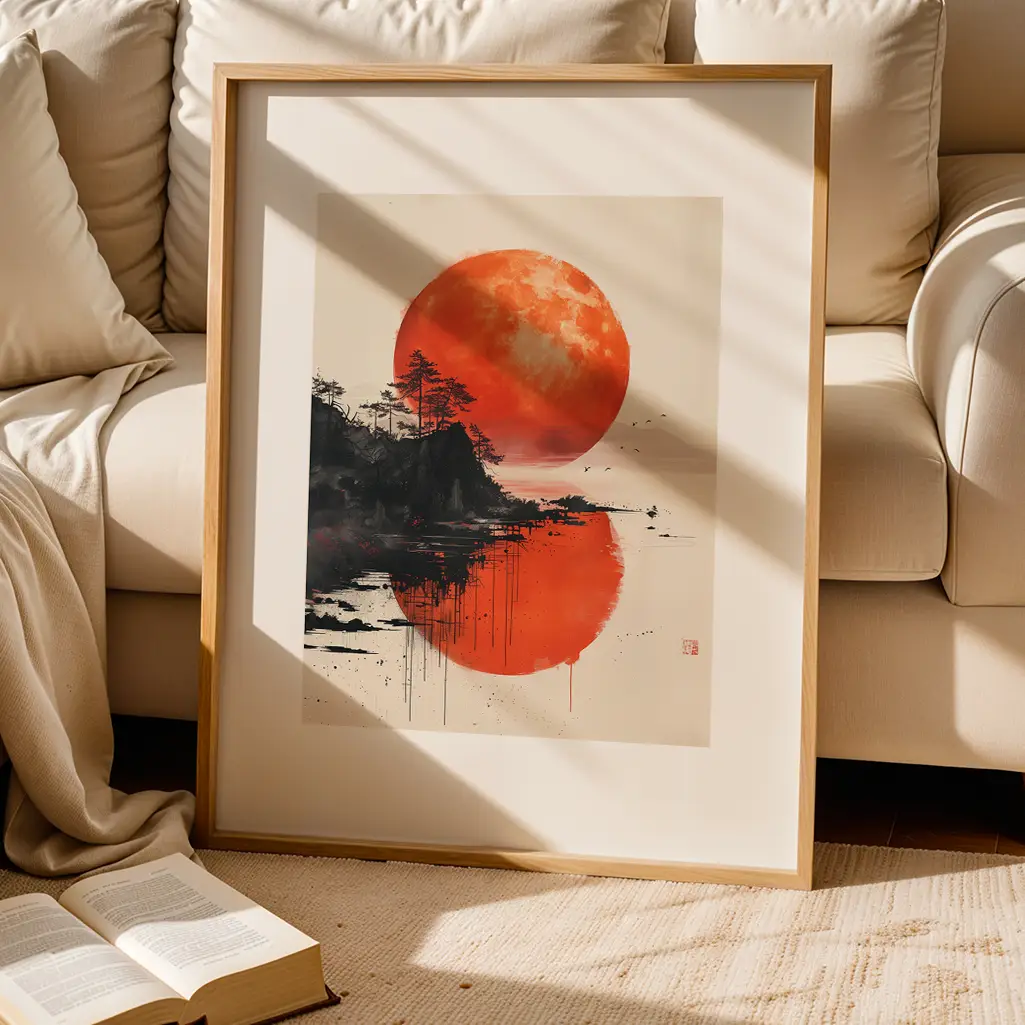

Reading the Wall Before the Tape Measure
Designing a wall for art begins long before you unroll a tape measure. You are not just filling a blank rectangle; you are deciding how a vertical plane will meet your body, your furniture and the light that passes through the room. Measurement in this context is less about numbers and more about proportion and rhythm. When you approach a wall this way, the tape measure becomes a way to record a feeling rather than dictate one.
Stand at the main entry to the room and look at the wall you want to use. Notice where your eye lands first. That natural focal point is the quiet anchor of your composition. Now step closer and register the architecture. Outlets, vents, switches and trim all cut into the visual field; they are not obstacles but boundaries. Measuring the wall effectively must include these interruptions, because art that ignores them tends to look slightly off even when the numbers are technically correct.
Walk the room. From a sofa, from a dining chair, from the edge of the bed, pay attention to how high your eye sits relative to the wall. Designers talk about hanging art at eye level, but eye level changes with posture and furniture. Instead of clinging to a generic rule, think in terms of a horizon line that most viewers will share. In many homes, that horizon falls somewhere around the midpoint between seated and standing sightlines. You will measure relative to this shifting horizon, not just from the floor.
Only now bring in the tape. Measure the full width of the uninterrupted wall surface, from trim to trim or from one functional break to the next. Then note the height from the top of the baseboard to the bottom of the ceiling or crown molding. These are your working dimensions. They are less a canvas and more a field in which you will set a smaller, calmer rectangle of art. The goal is to find that inner rectangle where the piece or grouping can breathe.
To find it, imagine that you are inset from the outer edges of the wall, the way a mat in a frame steps away from the glass edge. Leaving generous empty margins at the top, bottom and sides is what allows art to feel deliberate instead of crammed in. When you commit to those margins as part of your measurement, you begin to see how much space your art actually needs.
Ratios, Breathing Room and Center Lines
Once you know the outer dimensions of the wall, the question becomes how much of that you should fill. A simple way to avoid guessing is to think in ratios instead of fixed sizes. Many designers treat forty to sixty percent of a visually available wall span as a comfortable target for a single piece or a tight grouping. This range respects the architecture while making the art feel intentional rather than timid.
Start with width. Suppose the usable span of the wall above a sofa or console is two hundred centimeters. Half of that is one hundred, sixty percent is one hundred twenty. That tells you that art between one meter and one twenty in total width will usually feel proportionate. If you fall in love with something wider, you can nudge the furniture or push into a more dramatic, enveloping look, but the ratio exposes that choice as a conscious departure rather than an accident.
Height is trickier because it interacts with both eye level and furniture. A common starting point is to center the artwork so that its vertical midpoint sits close to a shared eye level, somewhere in the range of one hundred forty to one hundred fifty centimeters from the floor in many homes. Instead of treating that as a rule, measure the average of your household’s actual eye heights while standing in the room. Use that measurement as the interim horizon and mark it lightly on the wall with painter’s tape.
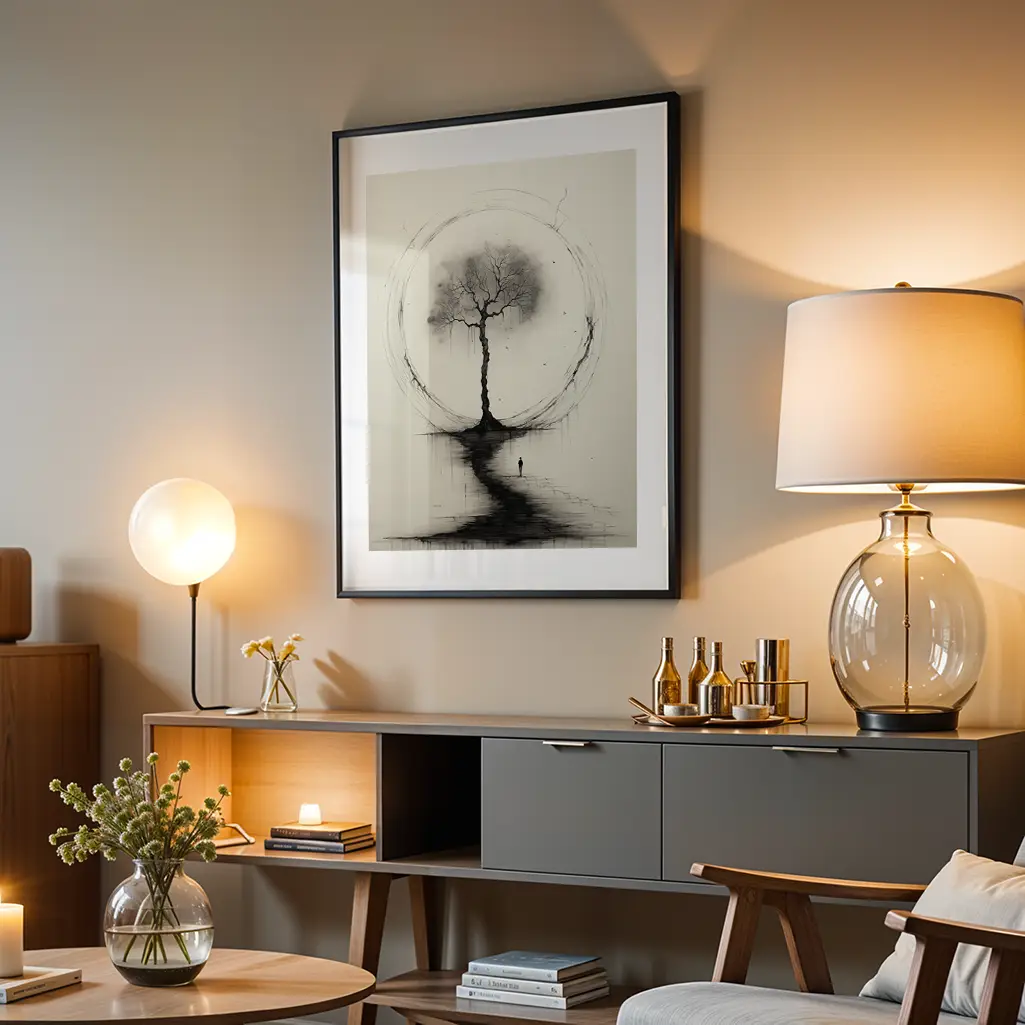
Now consider any furniture beneath. If you are hanging above a sofa, sideboard or bed, measure up from the top surface of that piece rather than from the floor alone. A gap of roughly fifteen to twenty five centimeters between the top of the furniture and the bottom of the frame reads as a visual inhale. Less than that and the art can feel glued to the surface. Much more and the grouping disconnects, as if the furniture and the art were chosen for different rooms.
To tie these distances together, find the center line. Measure the width of the wall span and mark its midpoint. Measure the width of your art or the combined width of a grouping and divide by two to find that midpoint. When these two midpoints align, the arrangement calms down, much like aligning the spine of a book to the center of a shelf. Even if the piece is not perfectly symmetrical, the center line becomes an invisible axis that steadies the composition.
Breathing room at the edges is just as important. If your wall span is two hundred centimeters and your art or grouping is one hundred ten, you have ninety centimeters left over. Split that evenly, leaving about forty five centimeters of bare wall on each side. That negative space becomes part of the design, framing the art and keeping it from competing with adjacent elements like windows or doorways.
From Precise Numbers to Lived-In Balance
After you have translated horizons and ratios into measurements, it is tempting to trust the numbers completely. But rooms are lived in, not drafted. The final stage of measuring a wall for art is to reintroduce the body and the light. Tape out the footprint of the art directly on the wall using low tack tape. This mock frame should match the width and height you calculated and sit at the distances you measured from furniture and floor.
Now move through the room again. Sit where you usually read. Stand where you often pause with a cup of coffee. Glance up from the tasks you actually perform in the space. From these positions, pay attention to whether the taped shape feels too high or compressed, too narrow or dominant. Your body will register these imbalances before your brain can explain them. If the rectangle seems to float away, lower it a few centimeters. If it looms, nudge it up or slightly reduce its width.
Use daylight as another measuring tool. At different times of day, watch how light washes the taped area. Strong side light can exaggerate glare on glass, while a dimly lit corner may swallow subtle work. This observation can lead you to adjust the placement up, down or sideways a small but significant amount. In this sense, you are measuring not just the wall but the movement of light across it.
When the taped outline finally feels inevitable to you, record the key measurements in a notebook or your phone. Note the total width and height of the planned art area, the distance from the floor to the center point and the gap above any furniture. This becomes your personal hanging standard for that wall. If you later swap pieces or create a gallery grouping within the same footprint, you will not need to guess again; the proportions have already been tested by your own eyes and habits.
The discipline of measuring a wall for art is less about perfection than about paying close attention. Numbers offer structure, but it is your daily life that completes the picture. When you mix simple ratios with awareness of sightlines, furniture and light, each wall becomes more than a backdrop. It becomes a quiet, measured partner in how you inhabit your home.